
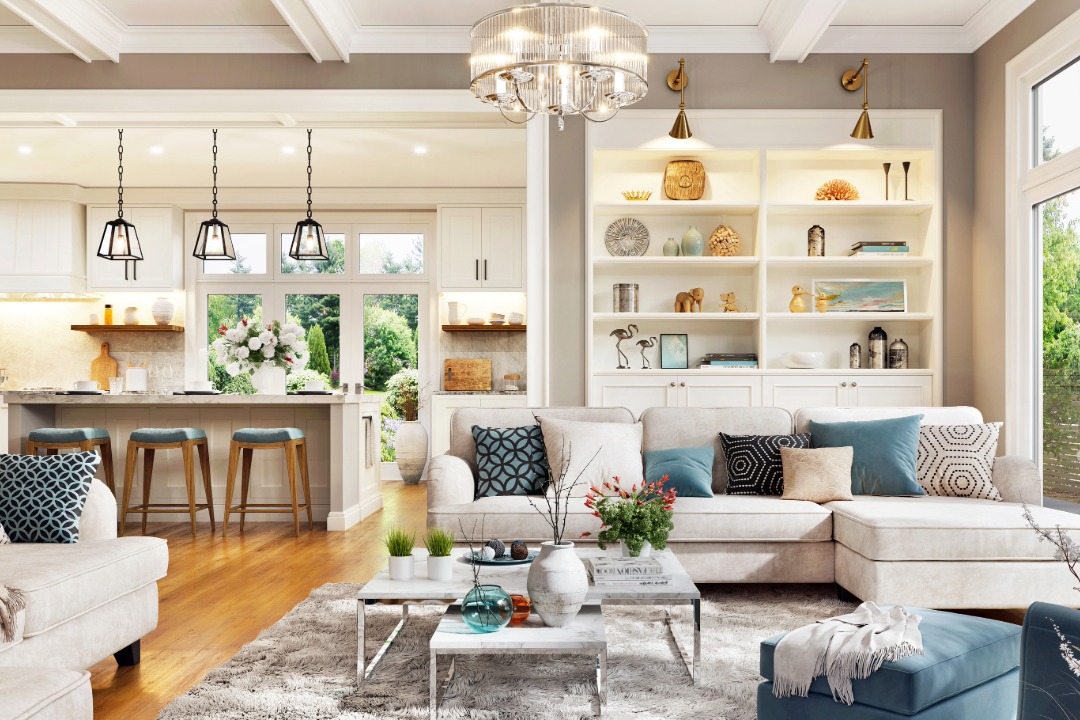
Getting the keys to your first home is exciting. Designing the interiors is overwhelming. There are hundreds of decisions to make and no clear order in which to make them. Should you pick the kitchen layout first or the bedroom wardrobe? Do you choose paint colours before furniture or after? When do you finalise the flooring? Where does the budget go first?
Most first-time homeowners answer these questions randomly. They start with whatever feels most urgent or most exciting. The result is a series of disconnected decisions that do not add up to a cohesive home. The kitchen finish clashes with the living room palette. The wardrobe is too deep for the bedroom layout. The electrical points are in the wrong places because nobody planned the furniture positions first.
This guide gives you a clear decision sequence. It covers what to decide first, what to decide last, and what mistakes to avoid at each stage. It is written for Indian homeowners furnishing a 2BHK or 3BHK apartment for the first time, though the principles apply to any home size.
Step 1: Set Your Total Budget Before You Touch Anything
This sounds obvious. It is also the step most first-time homeowners skip. They start browsing kitchen designs and wardrobe finishes without knowing how much they can spend in total. Then they overspend on the kitchen and have nothing left for the bedrooms.
A realistic budget for complete home interior design in an Indian 2BHK ranges from 4 to 12 lakhs depending on the city, material choices, and the number of rooms being furnished. A 3BHK typically requires 7 to 18 lakhs for the same scope.
Divide your total budget by room priority. The kitchen usually takes 30 to 35 percent of the total. Wardrobes take 20 to 25 percent. The living room takes 15 to 20 percent. The remaining 20 to 30 percent covers other rooms, lighting, painting, and contingency.
Write these numbers down before your first meeting with any designer or manufacturer. When you know your ceiling, you make better decisions at every stage.
Step 2: Finalise the Floor Plan and Furniture Layout First
Before selecting any material, colour, or finish, you need to know where every piece of furniture will sit. The bed position determines where the wardrobe goes. The wardrobe position determines where the dressing unit goes. The TV unit position determines where the electrical points go.
Draw or get a scaled floor plan of each room. Mark the doors, windows, and balcony openings. Then place the furniture on the plan. This exercise reveals problems that are invisible in an empty room. The wardrobe door swings into the bed. The study table blocks the window. The kitchen counter is too close to the fridge.
A manufacturer that offers space optimisation and planning services will handle this for you with 3D layouts that show exactly how each room will look and function before a single panel is cut. This planning step prevents expensive corrections after installation.
Step 3: Choose the Kitchen Layout Based on How You Cook
The kitchen is the most technical room in the house. It involves plumbing, gas, electrical, and ventilation systems. Getting the layout wrong costs the most to fix because changing a pipe position or a gas line after installation involves civil work.
For Indian cooking, the layout must account for heavy oil use, steam from pressure cookers, multiple burners running simultaneously, and storage for bulk grains, spices, and large vessels. A kitchen designed for Western cooking habits will feel inadequate within weeks.
Choose between L-shaped, U-shaped, straight, or parallel configurations based on your room dimensions and cooking style. An L-shaped layout works for most Indian apartments between 50 and 80 square feet. A parallel kitchen suits narrow rooms where both walls can hold cabinetry.
Your modular kitchen design services provider should ask about your cooking habits, family size, appliance list, and storage needs before suggesting a layout. If they jump to a design without this discussion, they are selling a template, not solving your problem.
Step 4: Plan Wardrobe Storage Around Your Actual Inventory
The wardrobe is the second most important decision after the kitchen. It affects your daily routine more than any other piece of furniture. A well-organised wardrobe saves ten minutes every morning. A poorly planned one adds ten minutes of frustration.
Before the internal layout is designed, count your garments by type. Shirts. Trousers. Kurtas. Sarees. Dresses. Jackets. Then count your folded items, shoes, bags, and accessories. This inventory determines how much long-hang, short-hang, shelf, and drawer space you need.
Include a 20 percent buffer for growth. Your clothing inventory will grow every year. If the wardrobe is full at move-in, it overflows within six months.
Choose between sliding and hinged doors based on the clearance between the wardrobe wall and the bed. If the clearance is under two feet, sliding doors are the only practical option. A detailed guide to wardrobe and storage solutions helps you match the right configuration to your room dimensions.
Step 5: Select Materials Based on Location, Not Price
This is where first-time homeowners make the costliest mistakes. They choose the cheapest material for every surface to save money. Or they choose the most expensive material for every surface because they assume higher price means better performance.
Neither approach is correct. The right approach is zone-based material selection. Different parts of the home face different conditions. The kitchen sink area faces daily water splashes. The wardrobe base faces moisture from floor mopping. The TV unit faces minimal stress.
BWR plywood is essential for the kitchen carcass and any furniture near water sources. HDHMR works well for dry-zone wardrobes and storage. Standard MDF suits TV units, study tables, and display shelves where moisture exposure is minimal.
For surface finishes, high-pressure laminate is the most durable and cost-effective option for Indian homes. It handles oil, turmeric, cleaning agents, and daily fingerprints without degrading. Acrylic and PU finishes look premium but require more careful maintenance.
A manufacturer that sources sustainable materials verifies the grade and origin of every board before it enters the production line. This verification is the difference between furniture that lasts a decade and furniture that swells within two years.
Step 6: Get Electrical and Plumbing Points Marked Before Production
This step is critical and often forgotten. The positions of electrical outlets, switches, and plumbing connections must be finalised before the furniture is manufactured. A kitchen counter with no outlet for the mixer grinder. A wardrobe with no internal light because nobody planned the power point. A TV unit with cables hanging visibly because the outlet is in the wrong place.
Walk through every room with your designer and mark every point. Kitchen outlets for the chimney, fridge, microwave, mixer, and water purifier. Bedroom outlets for bedside lamps, phone charging, and wardrobe internal lighting. Living room outlets for the TV, set-top box, and speaker system.
This coordinated planning happens naturally when one company handles the entire project. When you use separate contractors for electrical work, civil work, and furniture, the coordination gaps multiply.
Step 7: Choose Colours and Finishes Last, Not First
This surprises most first-time homeowners. They want to pick the paint colour and the shutter finish first because those are the most visible and most exciting decisions. But colour and finish should be the last choices because they depend on everything that comes before.
The wall colour depends on the furniture finish. A warm walnut wardrobe looks best against a soft grey or cream wall. A white gloss kitchen looks best against a cool white or light blue backdrop. If you paint the walls first and then choose the furniture, the combinations may clash.
The shutter finish depends on the room’s natural light. A glossy acrylic kitchen in a room with no direct sunlight looks dull. The same finish in a sunlit room sparkles. Visit the room at different times of day before finalising glossy or matte finishes.
Choose a limited palette. Two to three neutral base colours for walls. One accent colour for feature walls or cabinet shutters. One consistent hardware finish, whether chrome, matte black, or brushed nickel, across all rooms. This discipline creates the visual continuity that makes a home feel designed rather than assembled.
Step 8: Work With a Manufacturer, Not a Collection of Vendors
This is the single decision that affects the quality, timeline, and coordination of your entire home interior project. First-time homeowners often hire a carpenter for the wardrobe, a different company for the kitchen, another vendor for the TV unit, and a painter for the walls.
The result is a project with five different timelines, five different material grades, five different finish qualities, and zero coordination. The wardrobe finish does not match the kitchen hardware. The TV unit is delivered three weeks after the painting is done, and the painters need to come back for touch-ups.
A manufacturer with in-house production handles the entire scope. In-house manufacturing means one design team, one factory, and one installation crew. The materials, finishes, and hardware are consistent across every room because everything is produced under one roof. This integrated approach to interior design in India is what separates a cohesive home from a collection of mismatched modular furniture pieces assembled by different vendors.
Holzbox designs and manufactures complete home interiors in its own factory. From modular kitchens and wardrobes to TV units, study desks, and storage systems, every piece is cut, finished, and quality-checked in a single facility. This integration eliminates the coordination problems that plague multi-vendor projects and gives first-time homeowners a single point of contact for the entire journey.
What First-Time Homeowners Get Wrong Most Often
Spending too much on aesthetics and too little on structure. A beautiful shutter on a particle board carcass fails within three years. Put the budget into the bones first.
Ignoring ventilation in the kitchen. Indian cooking generates more oil and steam than most designs account for. The chimney placement and duct route must be planned during the layout stage.
Choosing trends over timelessness. A matte black kitchen looks dramatic in 2026. It may look dated by 2030. Neutral finishes with subtle textures age better than bold colour statements.
Not planning for technology. Charging ports, USB outlets, smart switch positions, and WiFi router placement should be part of the electrical plan from the start.
Frequently Asked Questions
How much does complete home interior design cost for a 2BHK in India?
A complete interior for a 2BHK apartment in an Indian metro city costs between 4 and 12 lakhs in 2026, depending on material choices, hardware quality, and the number of rooms being furnished. Budget setups with laminate finishes and standard hardware start at the lower end. Mid-range projects with BWR plywood, branded hardware, and granite countertops fall in the 6 to 9 lakh range. Premium setups with acrylic shutters, imported hardware, and quartz countertops reach the higher end.
Should I start with the kitchen or the bedroom when designing my home?
Start with the kitchen. It involves plumbing, gas lines, electrical points, and ventilation that all require civil work coordination. Changes to kitchen infrastructure after installation are expensive and disruptive. Bedrooms are more flexible because wardrobes and furniture can be adjusted without affecting plumbing or gas connections. Finalise the kitchen layout and infrastructure first, then move to the bedrooms.
Is it better to hire separate vendors for each room or one company for everything?
One company for everything. A single manufacturer that handles the kitchen, wardrobes, TV units, and storage ensures consistent material quality, matching finishes, coordinated timelines, and a single point of accountability. Multi-vendor projects suffer from coordination gaps, mismatched finishes, and blame-shifting when problems arise. For first-time homeowners, managing five separate vendors while also handling electrical, plumbing, and painting contractors is unnecessarily stressful.
What is the biggest mistake first-time homeowners make with interiors?
Not planning the furniture layout before finalising electrical points. Once the walls are plastered and painted, adding or moving an outlet requires breaking the wall, re-wiring, re-plastering, and repainting. If the furniture positions are decided first, every outlet, switch, and data point is placed exactly where it is needed. This single planning step prevents the most common and most frustrating post-installation regret.
How long does a complete home interior project take from start to finish?
A typical 2BHK home interior project takes 45 to 75 days from design approval to completed installation. The design and planning phase takes 7 to 14 days. Manufacturing takes 25 to 45 days depending on scope and material availability. On-site installation takes 5 to 10 days. Factory production runs in parallel for all rooms, which is significantly faster than sequential on-site carpentry that takes 3 to 4 months for the same scope.