
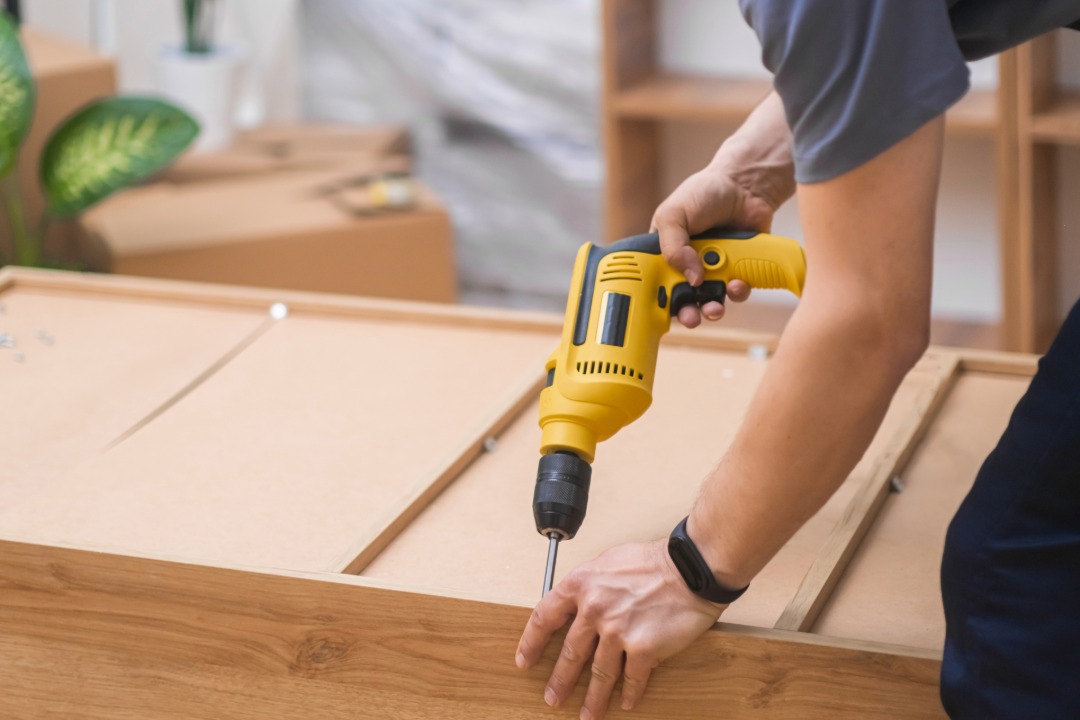
Furniture assembly looks simple in the instruction sheet. Panel A connects to Panel B. Insert Cam Lock C. Tighten Bolt D. In theory, every step follows the previous one in a clear sequence. In practice, you are standing in your bedroom holding a panel that does not seem to fit, looking at a diagram that does not match the parts in your hand.
Assembly problems are not random. They follow predictable patterns. The same issues appear in home after home because the same root causes exist in project after project. Some problems originate in the room itself. Some originate in how the furniture is handled. Some originate in the gap between the instruction sheet and the reality on site.
This guide covers the ten most common problems that occur during modular furniture assembly in Indian homes. Each problem is paired with a specific, practical solution. Not vague advice. The exact fix that resolves the issue without damaging the furniture or requiring a factory replacement.
Problem 1: Uneven Floors Causing Cabinet Wobble
This is the most common assembly problem in Indian apartments. The floor looks flat to the eye. But when a base cabinet is placed, it rocks. One corner lifts. The shutter doors hang unevenly. The countertop does not sit flat.
The cause is floor-level variation. New apartment floors in India commonly have a 3 to 5 millimetre slope across a 10-foot run. That is invisible to the eye but enough to make a base cabinet unstable.
The solution is adjustable levelling feet. Every modular base cabinet from a quality manufacturer includes screw-type feet that can be raised or lowered independently. Extend each foot until a spirit level placed across the cabinet shows level in both directions. Then lock the foot in position.
For modular kitchens with long runs of base cabinets, level each unit individually before connecting them. A single unlevelled cabinet in a run of six will tilt the countertop and create a visible dip.
Problem 2: Wall Irregularities Creating Gaps Behind Units
Indian apartment walls are rarely perfectly flat or perfectly plumb. Plastering variations can leave bumps, hollows, and slight leans that become visible when a flat-backed wardrobe or kitchen module is placed against the wall.
The result is a gap at one end and no gap at the other. The unit looks crooked even when it is level. The countertop or wardrobe top panel does not sit flush against the wall.
The solution is scriber strips and wall fillers. A scriber strip is a thin panel that bridges the gap between the module and the wall. It can be trimmed on site to match the wall contour. For kitchen installations, the backsplash covers the gap between the countertop and the wall.
For wardrobes, a side filler panel is cut to match the wall lean. A manufacturer with in-house production provides these fillers as part of the standard installation kit because they know Indian walls are never perfectly straight.
Problem 3: Soft-Close Hinges Not Closing Fully
You install the hinge. Mount the door. Close it. The soft-close mechanism engages. But the door stops 5 millimetres short of fully closed. A sliver of light shows between the door and the frame.
The cause is almost always incorrect mounting depth. A soft-close hinge has three adjustment screws. One controls the depth. One controls the lateral position. One controls the vertical position. If the depth screw is not set correctly, the closing mechanism does not pull the door the final few millimetres.
The solution is depth adjustment. Turn the depth screw clockwise in quarter-turn increments until the door closes flush. Test after each adjustment. Over-tightening pushes the door too far inward and creates the opposite problem.
This calibration requires knowledge of the specific hinge model. A Hettich Sensys hinge calibrates differently from a Blum Clip Top. A trained installation technician knows the adjustment sequence for every model the factory uses. A DIY assembler typically does not.
Problem 4: Drawers Not Closing Smoothly
A new drawer should glide silently on its runners and close with a gentle push that activates the soft-close mechanism. When it sticks, jams, or closes unevenly, the problem is usually runner alignment.
Full-extension ball-bearing runners must be mounted exactly parallel. If the left runner is tilted even 2 degrees relative to the right runner, the drawer tracks unevenly. It pulls to one side. The soft-close engages on one runner but not the other. The drawer closes at an angle.
The solution is to loosen both runners. Use a spirit level to verify each runner is horizontal. Verify that the distance between the runners at the front matches the distance at the back. Retighten. Test with the drawer loaded to simulate real-world weight.
For drawers in modular furniture, the runner position is pre-drilled at the factory. But the screws are sometimes installed on site. If the mounting screws are driven at a slight angle, the runner tilts. A professional installer uses a drill with torque control to prevent angular drift during screw insertion.
Problem 5: Cam Lock Connectors Not Tightening
Cam lock connectors are the circular metal discs embedded in panel surfaces. They connect two panels by engaging with a dowel inserted into the adjacent panel. You turn the cam with a screwdriver to lock the joint.
Sometimes the cam turns freely without tightening. The joint remains loose. The panels wobble.
The cause is usually one of two things. Either the dowel was not inserted deep enough into the adjacent panel before the cam was engaged. Or the cam was turned past its locking point and over-rotated into the release position.
The solution is to disassemble the joint. Verify the dowel protrudes the correct distance from the panel. Reinsert the panels. Turn the cam clockwise until you feel resistance, then stop. A quarter-turn past the resistance point locks the joint. A full turn past it releases it.
Never force a cam lock with pliers. The mechanism is designed for fingertip torque with a screwdriver. Excessive force damages the cam housing inside the panel and creates a permanent weak point.
Problem 6: Countertop Not Sitting Flat
After base cabinets are installed and the countertop is placed, the slab should sit perfectly flat across the entire run. When it wobbles, rocks, or shows a gap in the middle, the problem is in the base, not the slab.
The cause is unlevelled base cabinets. If one cabinet in a run of five is 2 millimetres higher than its neighbours, the countertop bridges the high point and gaps appear on either side.
The solution is to remove the countertop. Re-check the level of every base cabinet. Adjust the levelling feet until all cabinets are at the same height. Place a long spirit level or a straight edge across the entire run to confirm. Then reinstall the countertop.
This problem is almost impossible to fix after the countertop is bonded to the base. Silicone adhesive sets within 24 hours. If the unevenness is discovered after bonding, removing the slab risks cracking it. Verification before bonding is the only reliable prevention.
Problem 7: Wall Cabinets Sagging After Installation
A wall-mounted cabinet that holds crockery, glassware, or kitchen supplies can weigh 15 to 25 kilograms when loaded. If the wall anchors are undersized or incorrectly placed, the cabinet sags over months. The screws pull partially out of the wall. The cabinet tilts forward.
The cause is either wrong anchor type for the wall material or insufficient number of anchor points. A hollow brick wall needs different anchors than a solid concrete wall. A single anchor point at each end cannot support a fully loaded cabinet. At least four anchor points are needed for a standard 600-millimetre wide wall unit.
The solution is to remove the cabinet. Drill new anchor holes into solid masonry using the correct wall plug size. Remount with load-rated fasteners. Professional installation teams check wall composition with a detector before drilling and carry multiple anchor types to match any wall condition found on site.
Problem 8: Sliding Wardrobe Doors Jumping Off Track
Sliding doors run on a track system with rollers at the top and a guide channel at the bottom. When a door jumps off its track, it tilts and cannot be moved until it is reset.
The cause is usually a misaligned anti-jump clip or a bottom guide that has shifted out of position. Anti-jump clips are small plastic brackets that hold the door captive in the track. If they are not snapped into the correct position during installation, the door lifts past them when pushed with force.
The solution is to lift the door slightly, realign it into the track groove, and verify that the anti-jump clips engage properly. Then check the bottom guide channel. It should sit exactly centred under the door panel. If it has shifted, re-fix it with new screws in the correct position.
Sliding track problems are entirely preventable during initial installation. A trained technician verifies the track levelness, clip engagement, and guide alignment before handover. This verification takes five minutes per door and eliminates the most common sliding wardrobe complaint.
Problem 9: Edge Banding Peeling Near the Sink
Within six months of kitchen installation, edge banding near the sink or dishwasher area starts lifting. The laminate strip peels back from the board surface. Moisture enters the exposed edge. The board begins to swell.
This problem has two possible causes. First, the edge banding adhesive may be low quality, especially if applied manually with a handheld iron. Second, the edge may have been chipped during countertop installation, creating a starting point for peeling.
The solution for minor peeling is to clean the edge surface, apply contact adhesive, press the strip back, and clamp it for 24 hours. For severe peeling where the board has already started swelling, the panel must be replaced.
Prevention is always better than cure here. Factory-applied edge banding uses industrial hot-melt adhesive under controlled pressure. The bond is significantly stronger than manual application. A home interior design project built by a manufacturer with in-house production virtually eliminates this problem because every edge is sealed in the factory, not on site.
Problem 10: Mismatched Module Dimensions During Multi-Vendor Assembly
When kitchen cabinets come from one vendor, the countertop from another, and the shutters from a third, dimensional mismatches are almost guaranteed. A shutter designed for a 596-millimetre opening arrives at 600 millimetres. The countertop overhang is 20 millimetres on one side and 25 on the other. The backsplash does not sit flush because the wall cabinet depth does not match the base cabinet depth.
These mismatches happen because each vendor works from their own dimensional standards. A 1-millimetre variation at one vendor is a 2-millimetre gap at assembly.
The solution is to source all components from a single manufacturer. When one factory produces the carcass, shutters, countertop, and hardware, every dimension is cut from the same production data. The shutter matches the opening because both were designed and manufactured together.
Holzbox operates this way. Every module for every room is designed, cut, edge-banded, and quality-checked in a single factory. The dimensional consistency that single-source manufacturing provides eliminates the mismatch problems that plague multi-vendor assembly projects.
Frequently Asked Questions
What is the most common furniture assembly problem in Indian homes?
Uneven floors causing cabinet wobble. Indian apartment floors commonly have 3 to 5 millimetre level variations that are invisible to the eye but cause base cabinets to rock and countertops to sit unevenly. The fix is adjustable levelling feet on every base unit, verified with a spirit level. This single step prevents wobble, door misalignment, and countertop gaps.
Can I fix soft-close hinges that do not close fully?
Yes, in most cases. The problem is usually incorrect depth adjustment. Locate the depth adjustment screw on the hinge and turn it clockwise in quarter-turn increments until the door closes flush. Test after each adjustment. If the hinge still does not close properly after adjustment, the mounting plate may need repositioning. This requires removing the hinge and re-drilling at the correct depth.
Why do drawers start jamming after a few months of use?
The most common cause is runner misalignment that went unnoticed during installation. The runners were not perfectly parallel, and daily use gradually wears the rollers unevenly. The second cause is overloading. Drawer runners have a weight rating. Exceeding it causes the runner to flex and the drawer to drag. Check the runner weight limit and redistribute heavy items if needed.
How do I prevent edge banding from peeling near the kitchen sink?
Ensure the edge banding is factory-applied, not manually ironed on site. Factory edge banding uses industrial adhesive under controlled pressure, creating a bond that withstands years of water exposure. Additionally, avoid using abrasive scrubbers on the edges. Wipe with a soft cloth. If peeling has started, clean and re-glue the strip with contact adhesive. For severe damage, request a panel replacement from the manufacturer.
Should I attempt to fix assembly problems myself or call the manufacturer?
For minor adjustments like hinge calibration and levelling feet, you can handle them yourself with a screwdriver and spirit level. For structural issues like sagging wall cabinets, sliding door derailment, countertop unevenness, or panel replacement, always contact the manufacturer. A company with in-house manufacturing can dispatch a trained technician who understands the exact construction of your modules. Self-repairs on structural issues risk voiding the warranty and causing further damage.